Setup
Setup
Creating the queues in AWS
In order for Cloudloop to send messages into your account, you’ll need to setup some queues which allow Rock 7’s AWS account to send and receive messages. To simplify this process, we provide you with a CloudFormation template.
The same setup can be achieved using TerraformIf you prefer using Terraform to CloudFormation, we also offer a module or gist which you can use instead.
Using CloudFormation
- In the AWS Console, open CloudFormation, making sure you are in the region you want to create the queues in.
- In Stacks, press the Create Stack button.
- Set https://s3.eu-west-2.amazonaws.com/cloudformation.rock7.com/sqs-setup.yml as the S3 URL and press the Next button.
- The Stack Details screen, will tell you the names of the queues the CloudFormation script will be creating. Enter a Stack Name (e.g. Rock7) and leave the other values on their defaults. Then press the Next button.
- You are not required to change anything on the Configure Stack Options screen, but feel free to make any changes you require, e.g. applying Tags. Press the Next button.
- Scroll to the bottom of the Review Screen, and press the Create stack button.
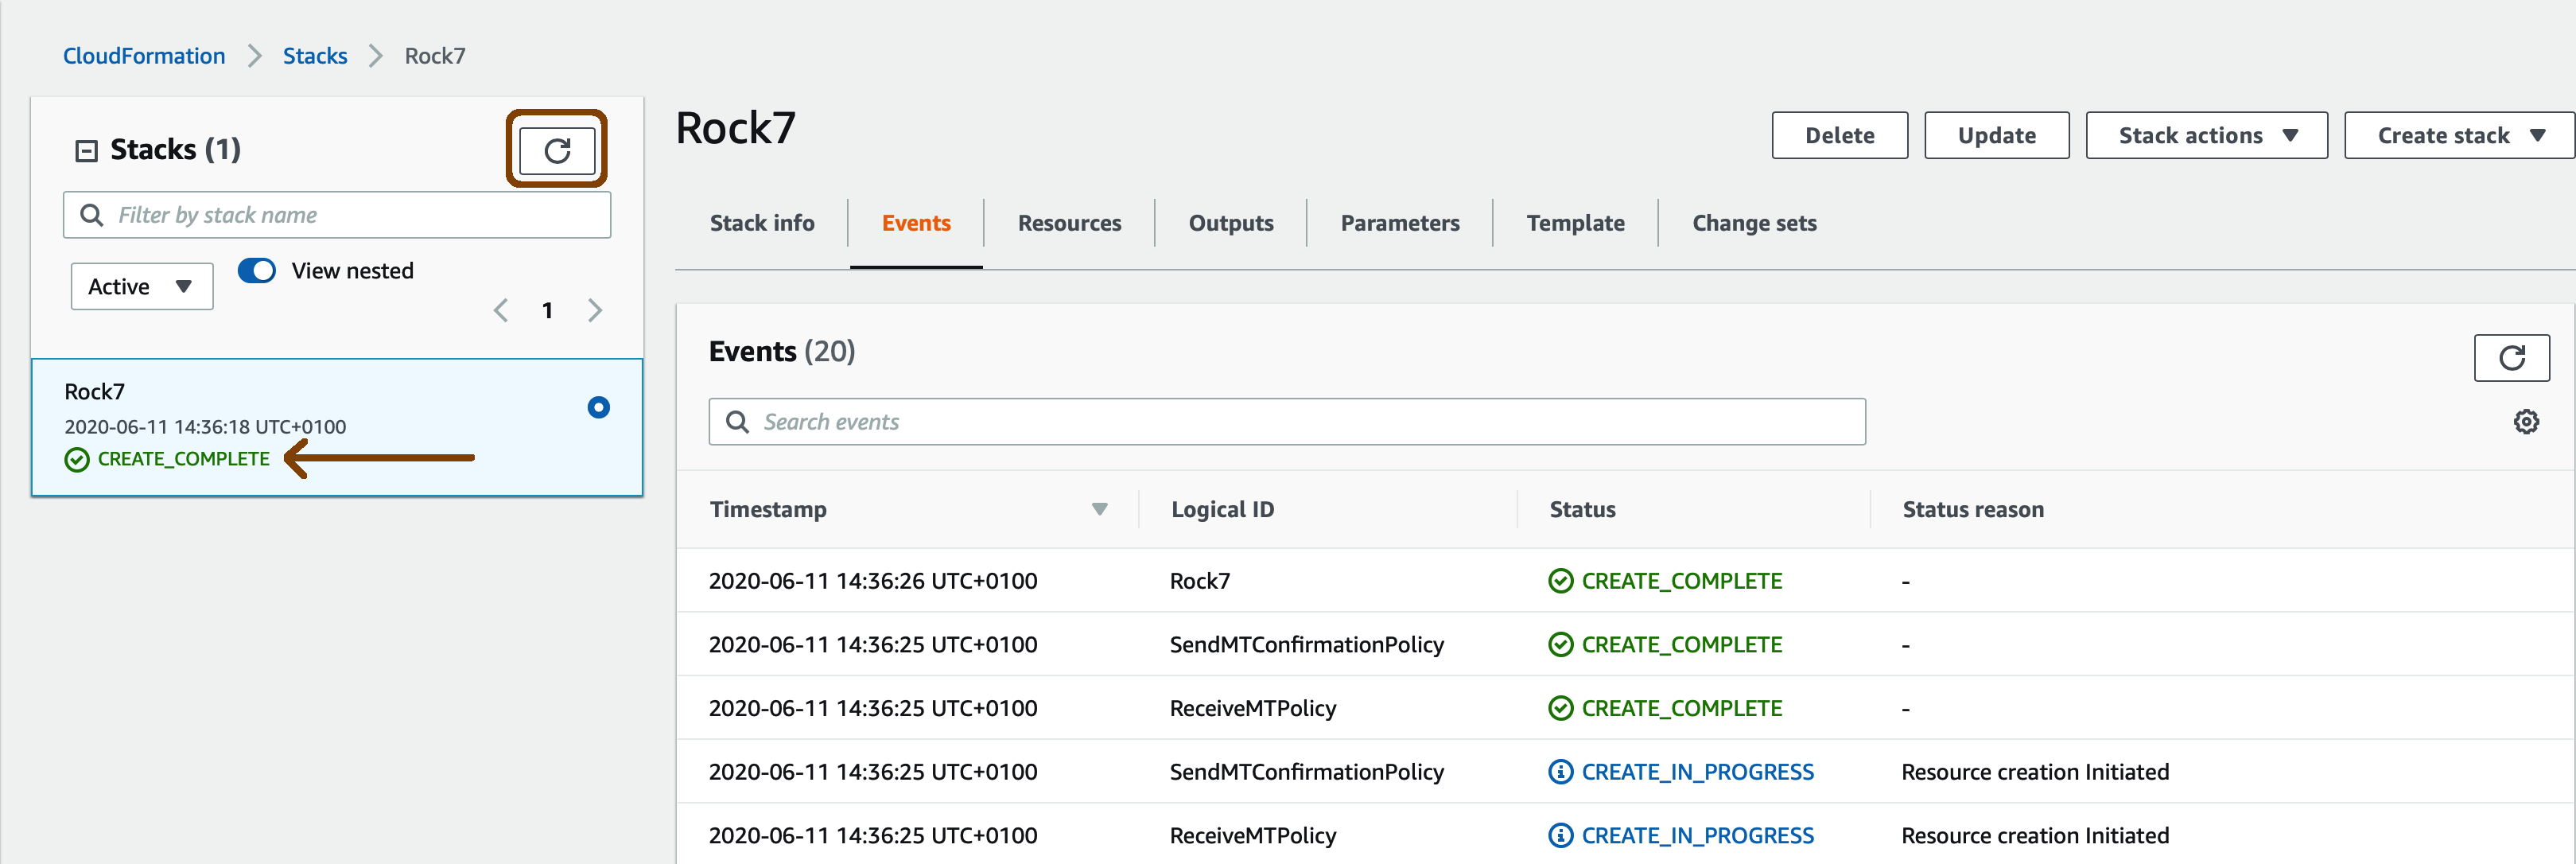
- The Events screen will list the actions taken to create the queues. Creation takes roughly 10 seconds and requires you to manually refresh to see any progress updates.

Look for CREATE_COMPLETE on the left.
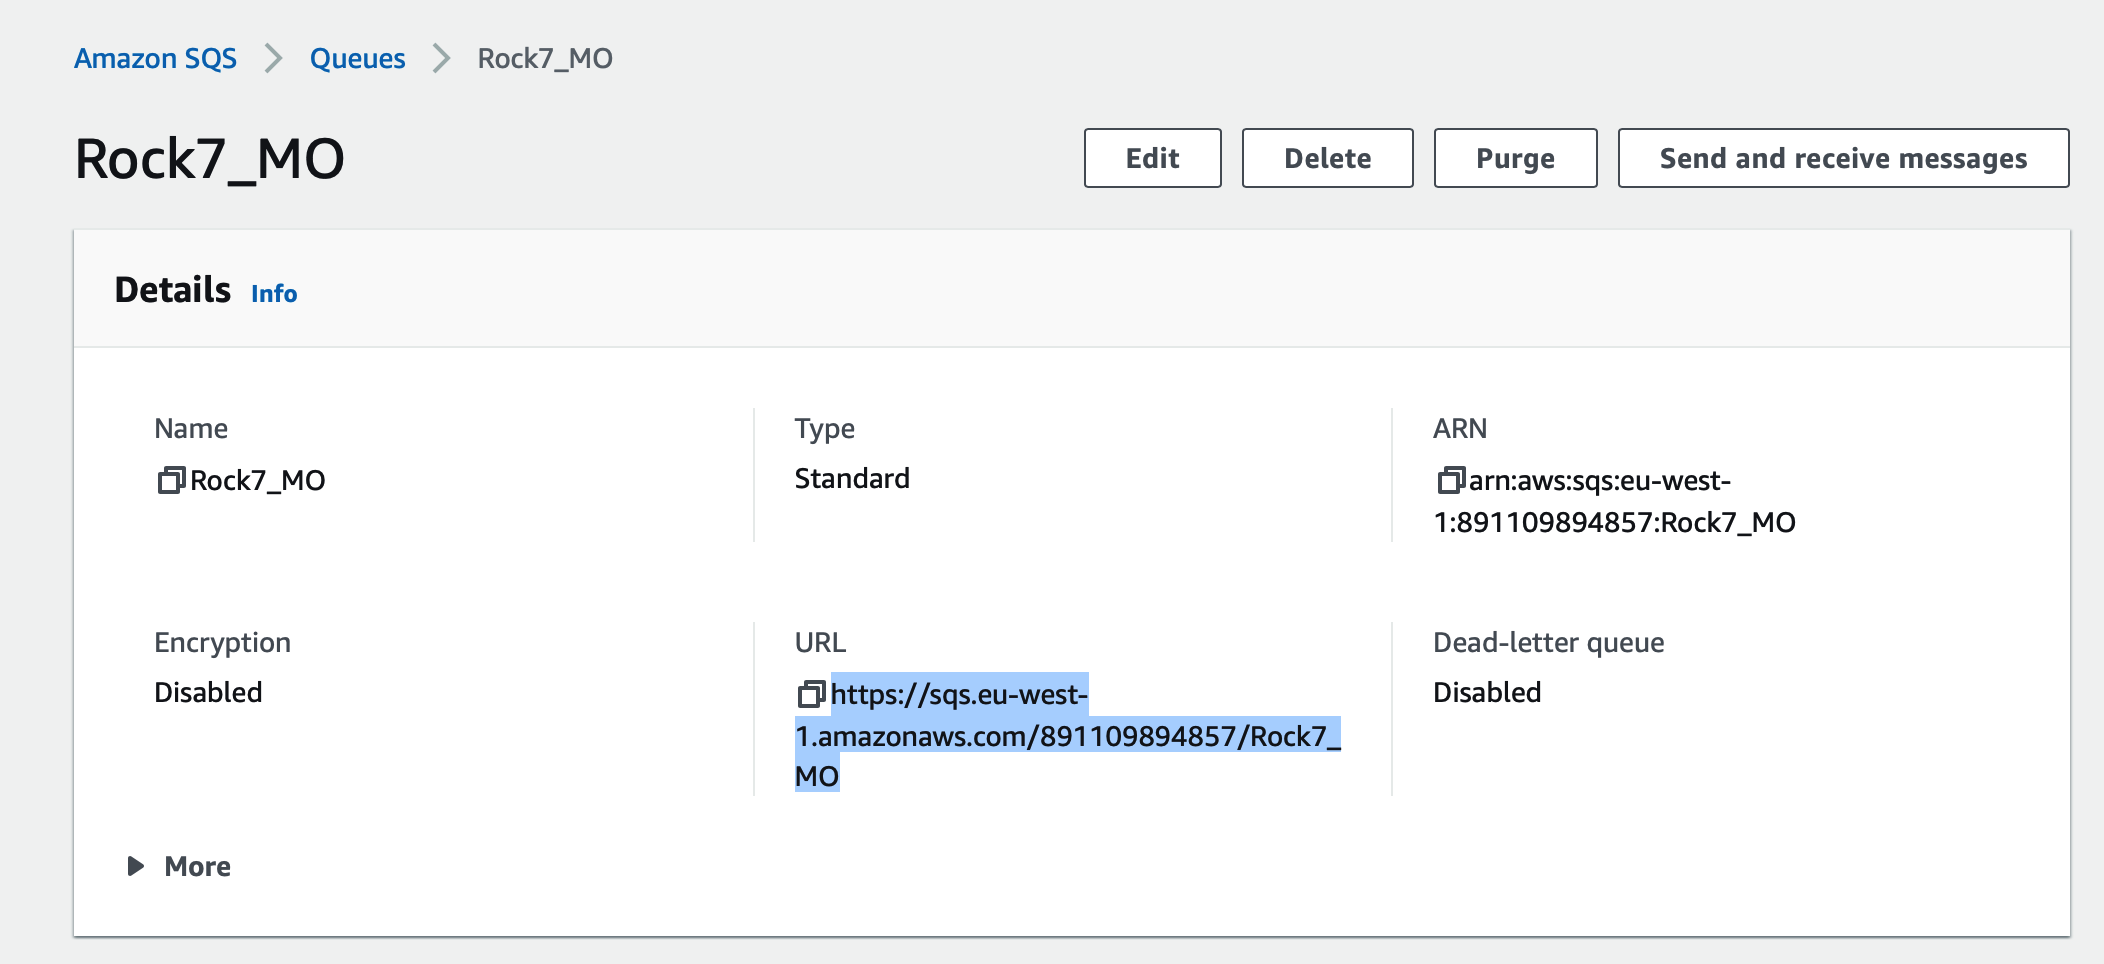
- Now navigate to SQS from the Services navigation in AWS. Find the queues that were created and copy the URLs as shown below.

Press the Copy button next to the queue URL.
Adding your queue configuration to Cloudloop
Send your three queue URLs to [email protected] with the subject Cloudloop SQS. If you would like to manage multiple queues from within Cloudloop, please also talk to support.
Delivery Destinations
Update Destination for a single IMEI
- Open Subscribers from the SBD area in the sidebar.
- Search for your device, and click the subscriber name.
- Switch to the Destinations tab.
- Create a Destination of type ROUTE, and choose the route you created earlier, then press Create Destination.
Update Default Destinations
If you have a large number of devices with the same destination setup, you may want them all to deliver messages to SQS.
- Open Default Destinations from the SBD area in the sidebar.
- Create a Destination of type ROUTE, and choose the route you created earlier, then press Create Destination.
- Press the Apply to all subscribers button to replace the current default destinations.

Apply to all destinations is highlighted in the top right
Troubleshooting Duplicate Deliveries
If you receive two copies of each message, check for and remove any destinations similar to direct-ip-backup-0.rock7.com:4444 . If you want Rock 7 to store a backup of your MO messages, ensure you have a destination similar to direct-ip-1.rock7.com:5555 .
Updated 8 months ago
